WordPress Image Optimization: The Complete Guide for Faster Websites
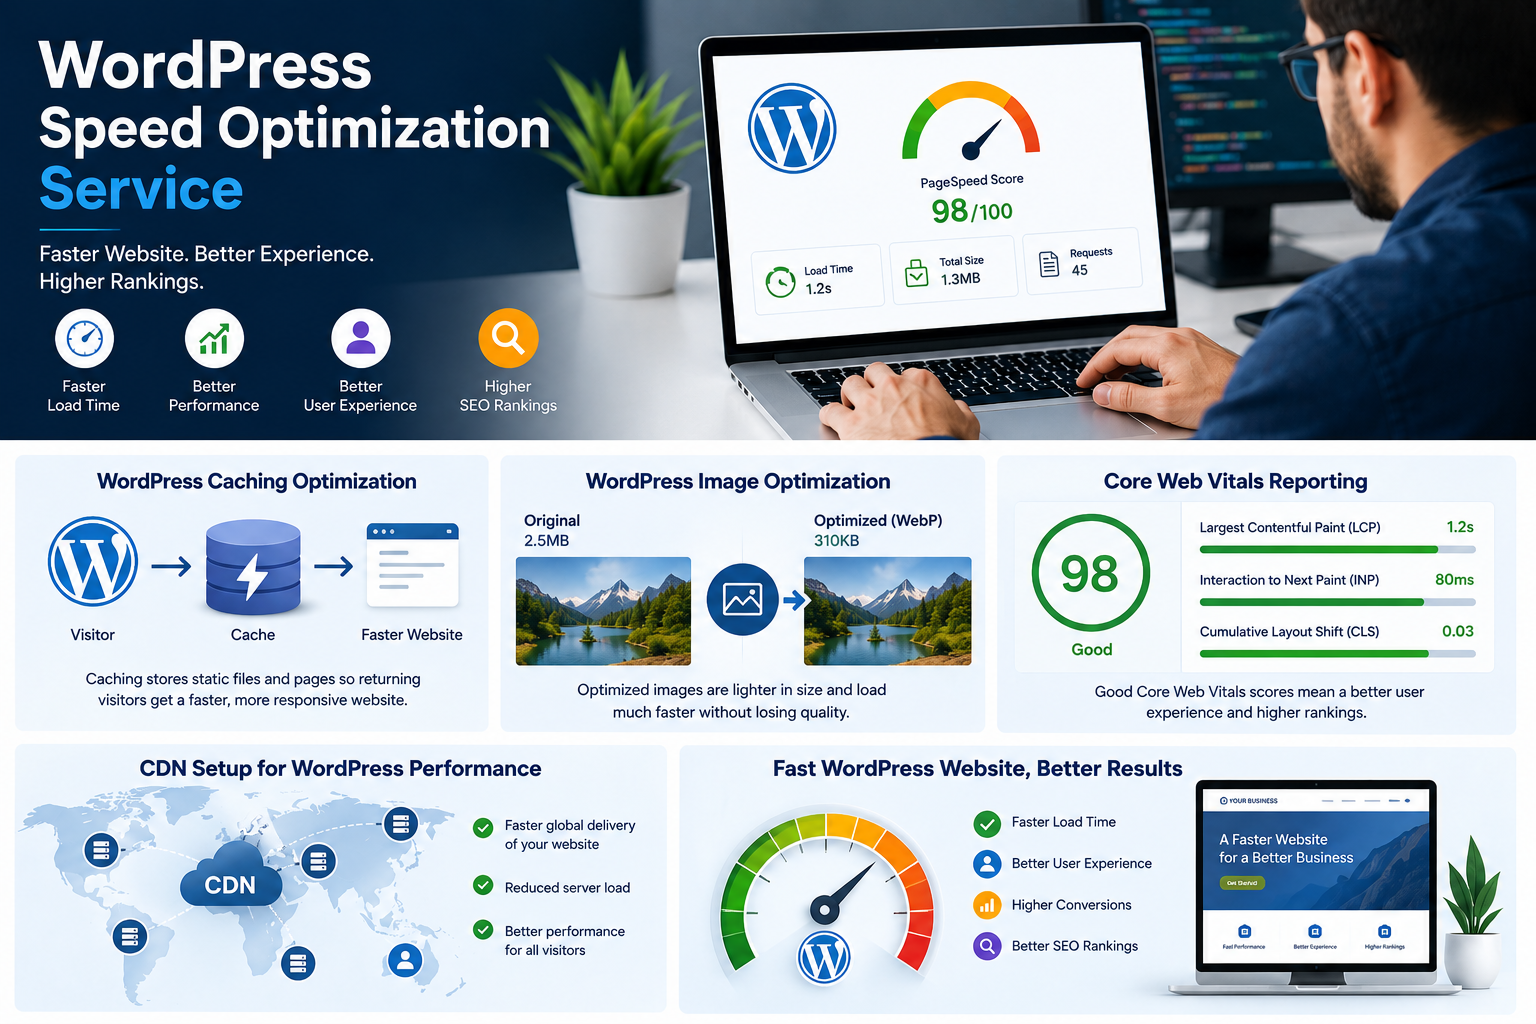
WordPress image optimization is the process of reducing image file sizes while preserving visual quality. It helps pages load faster and rank better in search results. On most sites, unoptimized images make up more than half of total page weight. This directly slows down Core Web Vitals, especially Largest Contentful Paint (LCP), and that in turn hurts your SEO performance.
Properly optimizing a WordPress site requires two things working together. First, a manual prep routine before you upload. Second, an automated plugin that keeps handling images in the background afterward. Below is the exact workflow to follow.
1. Manual Image Optimization Before Upload
Preparing assets beforehand limits your server storage and bandwidth usage:
- Resize dimensions first. Do not upload massive 4K or 5000px stock photos. Resize images on your computer using free tools like GIMP or Squoosh to match your layout width. A rule of thumb is 1200px to 1800px wide for standard content banners.
- Pick the right format for the job. Use JPEGs for photographs and complex scenery. Use PNGs strictly for diagrams, text screenshots, or graphics requiring transparent backgrounds. Use SVGs for simple vector logos.
- Rename files before uploading. Give files descriptive names separated by hyphens (e.g.,
black-leather-running-shoes.jpg) before uploading instead of generic camera outputs likeIMG_4921.jpg.
Getting these three habits right before upload means your optimization plugin has less work to do. Your media library also stays clean as your site grows.
2. Best WordPress Image Optimization Plugins
Most modern sites automate continuous maintenance with dedicated compression plugins. The leading tools include:
- Smush – Trusted by over 1 million users. It offers free unlimited lossy compression and implements automated local lazy loading to save critical visitor bandwidth.
- ShortPixel Image Optimizer – Highly lightweight, set-and-forget cloud solution. It shrinks files securely using lossy or lossless tiers and automatically creates corresponding thumbnail variations.
- EWWW Image Optimizer – A great budget-friendly pick offering unlimited local compression directly on your own host’s server. It includes an “Image Detective” feature to spot incorrectly scaled responsive pictures.
- Imagify – Built by the popular WP Rocket team. It provides clean 1-click optimization from your main media dashboard and grants up to 20MB of completely free storage optimization every single month.
- Optimole – Fully automated cloud alternative driven by machine learning. It serves dynamic, real-time responsive assets across an AWS CloudFront CDN tailored to your individual visitor’s screen sizes.
The right choice depends on your site’s size and hosting setup. Smaller brochure sites rarely need more than a free plugin. Larger blogs or stores with thousands of images benefit more from a cloud-based tool that offloads the processing entirely.
3. Key Plugin Configurations
- Convert to Next-Gen Formats: Force the plugin to output images as WebP or AVIF. These formats reduce weights by up to 30-80% compared to standard JPEGs while keeping high fidelity.
- Enable Lazy Loading: This forces browsers to only download pictures as the user scrolls them into view. Note: Exclude your absolute top hero banner image from lazy loading to avoid slowing initial page loads.
- Strip EXIF Metadata: Check the setting box to discard invisible embedded camera settings, GPS coordinates, and hardware logs to squeeze out extra byte savings.
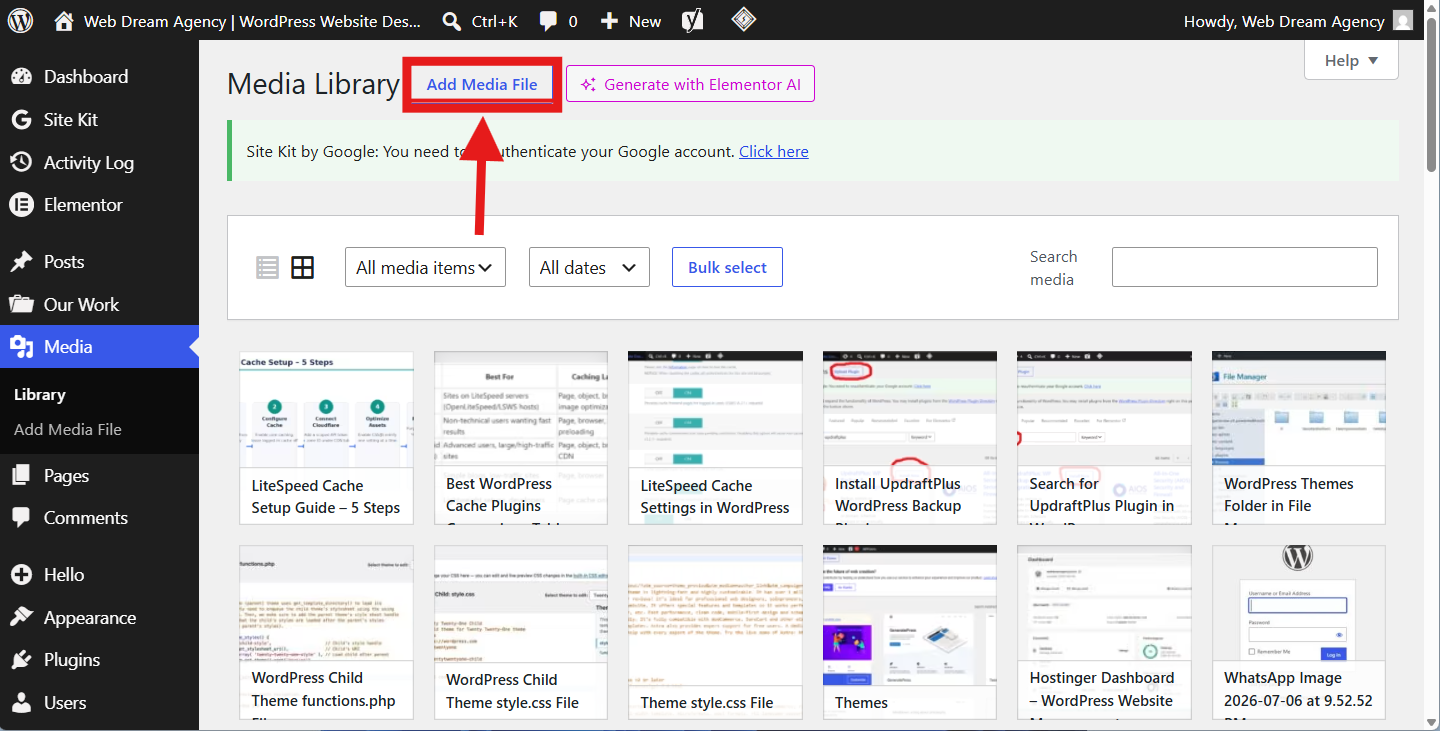
- Bulk Optimization: Run this utility immediately after installing your plugin to clean up your pre-existing Media Library retroactively.
- Approximately how many images are already uploaded to your site?
- Do you use a specific page builder (like Elementor or Divi)?
- Are you noticing specific speed flags on tools like Google PageSpeed Insights?
Resize and Serve the Correct Dimensions
Compression alone doesn’t fix incorrect sizing. If a 4000px-wide photo is still displayed in a 600px-wide thumbnail slot, browsers download far more data than the layout needs, even after compression.
WordPress has supported the srcset attribute since version 4.4. It lets a browser automatically choose the most appropriately sized version of an image for the visitor’s screen.
A phone downloads a smaller file than a desktop monitor, without you managing multiple versions manually. Most modern themes handle this correctly out of the box. Still, it’s worth spot-checking your homepage and a few key landing pages in your browser’s developer tools to confirm it’s actually working.
Don’t Skip Alt Text
Alt text serves two purposes at once. It helps screen readers describe images to visually impaired visitors, and it gives Google useful context for image search rankings.
A strong example looks like alt="dentist examining patient's teeth in modern clinic" — specific and descriptive without being keyword-stuffed. Generic labels like alt="image1" or an empty field waste an easy SEO opportunity.
Use a CDN for Faster Global Delivery
A content delivery network stores copies of your images on servers around the world. Visitors then load them from a nearby location rather than your single main server. Services like Cloudflare and BunnyCDN integrate easily with WordPress.
They make a noticeable difference for international visitors, since physical distance is often the biggest factor in load speed for a global audience. Many CDNs also apply automatic image optimization at the edge, adding a second layer of compression on top of whatever your plugin is already doing.
Common WordPress Image Optimization Mistakes to Avoid
A few habits quietly undo your WordPress image optimization efforts, even after the right tools are installed:
- Uploading straight from a phone or DSLR without resizing first
- Running multiple optimization plugins at once, which can conflict or double-compress images
- Ignoring background images set through CSS or page builders, since some plugins only scan the media library
- Forgetting to re-optimize after a redesign, when new banners and icons get added in bulk
- Setting compression too aggressively, which can introduce visible artifacts on gradients like skies or skin tones
Testing Your Image Optimization Results
After making WordPress image optimization changes, confirm the impact rather than assuming it worked. Google PageSpeed Insights and GTmetrix both break down image-related savings and flag which files are still oversized.
Run a test before and after your optimization pass. It gives you a clear comparison, useful both for your own tracking and for showing clients real results.
WordPress Image Optimization Checklist
- Resize images to actual display dimensions before uploading
- Choose the right format (JPEG, PNG, WebP, or SVG)
- Rename files with descriptive, hyphenated filenames
- Install a compression plugin and run a full bulk pass
- Enable next-gen format conversion (WebP/AVIF)
- Enable lazy loading, excluding the top hero image
- Confirm srcset is serving correctly sized images
- Add descriptive alt text to every image
- Serve images through a CDN
- Re-test with PageSpeed Insights or GTmetrix
Frequently Asked Questions
General WordPress Image Optimization Questions
Does image optimization actually improve SEO rankings?
Yes, indirectly. Google doesn’t rank pages for having small images. But faster load times and better Core Web Vitals scores are ranking factors, and optimized images are usually the biggest lever for improving both.
Will compressing images make them look worse?
Not at reasonable settings. Lossy compression at moderate levels is nearly indistinguishable from the original to the human eye, while still cutting file size dramatically.
Should I convert my entire media library to WebP at once?
Most plugins handle this safely with automatic fallbacks for older browsers, so yes. Just back up your site first, as with any bulk change to existing media.
Do I still need a caching plugin if my images are optimized?
Yes. Image optimization and caching solve different problems. One reduces file size, the other reduces server response time, and the biggest speed gains come from using both together.
What’s the ideal image file size for a WordPress page?
There’s no single fixed number. A good target is keeping individual images under 100–200KB after compression, and total image weight per page under 1MB where possible.
Is WebP always better than JPEG?
For most photos, yes — WebP produces a smaller file at equivalent quality. The exception is very simple graphics or flat-color images, where PNG or SVG may still compress better.
Technical WordPress Image Optimization Questions
Can image optimization break my site’s design?
It shouldn’t, if you stick to lossy or lossless compression at normal settings. Visual issues usually only happen when compression is pushed too aggressively, or when a plugin’s resizing conflicts with a page builder’s custom dimensions.
Do free optimization plugins work as well as paid ones?
For small to mid-sized sites, free tiers are usually enough. Paid plans matter more for large media libraries, since they offer higher compression limits, priority processing, and access to newer formats like AVIF.
How often should I re-run bulk optimization?
Right after installing a new plugin, and again after any major content push — a redesign, a new product catalog, or a batch of image-heavy posts. Otherwise, most plugins compress new uploads automatically.
Does lazy loading affect SEO negatively?
No, as long as it’s implemented correctly and your hero or above-the-fold image is excluded. Google can crawl lazy-loaded content properly, and the speed benefit generally outweighs any risk.
Will optimizing images speed up my WordPress admin dashboard too?
Somewhat. Smaller media files load faster in the Media Library grid view. But dashboard speed depends more on plugin count, hosting quality, and database size than on image optimization alone.
Should I optimize images manually or rely entirely on a plugin?
A combination works best. Resizing and renaming before upload keeps your media library clean from the start. A plugin then handles ongoing compression automatically, so nothing slips through as your site grows.
Final Thoughts
WordPress image optimization isn’t a one-time task — it’s an ongoing habit. Combining the right format, a reliable compression plugin, correct sizing, and lazy loading lets most sites cut page load time significantly within a single afternoon of work.
Image optimization works best when combined with a proper <a href=”https://webdreamagency.com/blog/wordpress-cache-plugin-guide/” target=”_blank” rel=”noopener”>WordPress caching setup</a>. Together, they can significantly improve page speed, Core Web Vitals, and the overall user experience.